Create your first project
The quickest route from an empty account to something you can actually look at. Five minutes, and you can ignore almost every setting on the way.
1. Make the project
When you sign in you land on Projects. If you have not made one yet, the page offers a single button: Create a new project.
Give it a title and click Save. The title is the only thing you have to fill in.
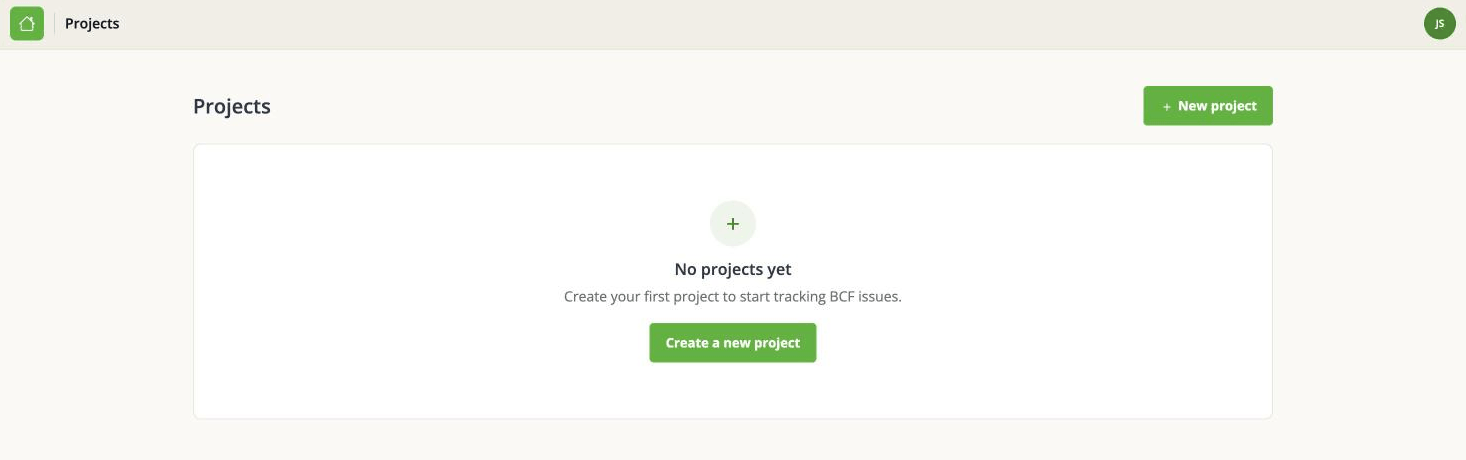
A project is a container for issues, and it is also the unit of access: people are added to a project, not to the app as a whole.
2. Look around
You land in the project's List view, which is empty. Behind the same top bar there is a Board view - the same issues as cards in columns.
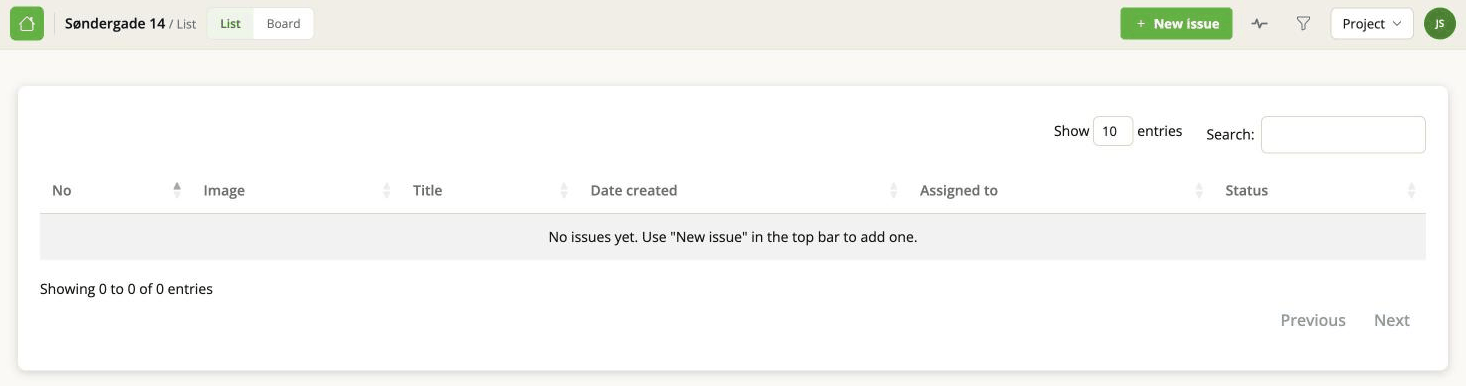
Both views show the same issues. Which one you prefer is a matter of taste, and you can switch at any time.
3. Add an issue
Click the green New issue button at the top. A panel opens on the right.
Type a title and close the panel. That is a complete issue. Everything else - who it is for, how urgent it is, what it is about - can be filled in later, and each field saves by itself as you set it.
You should now see one row in the list, and one card on the board.
4. Where to go next
Two things are worth doing before the project is really useful, and they are both worth doing early rather than late:
- Add the people who will work on it. You can add somebody without sending them an email, which is useful for consultants and for the names that arrive with an imported file.
- Set up the dropdown values. Type, Milestone and Labels are empty until you fill them in, and there is one thing about Status and Priority that surprises most people.
If your issues are coming from somewhere else rather than being typed in, go straight to Import a BCF file.